This article will describe what a user level filter is and how you can add, modify or delete user level e-mail filtering.
Contents:
What is a user level filter?
A filter is a tool that processes mail according to your preferences. For example, a filter can automatically discard spam or save mail from a specified sender to its own folder. In cPanel, filters can be applied to all email for the domain (Account Level Filters), or to each individual account (User Level Filters). In this article, we will be dealing with user level filters.
Create a user level e-mail filter
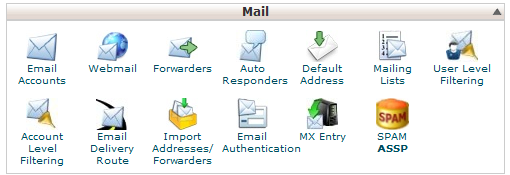
To create an e-mail filter at the user level, you will first need to login to cPanel. Once logged in, navigate to Mail >> User Level Filtering.
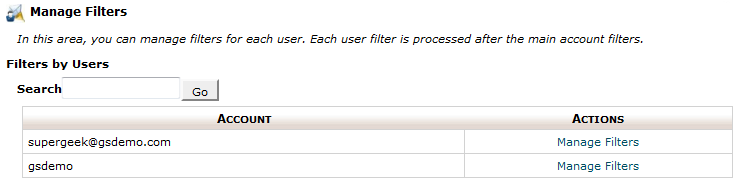
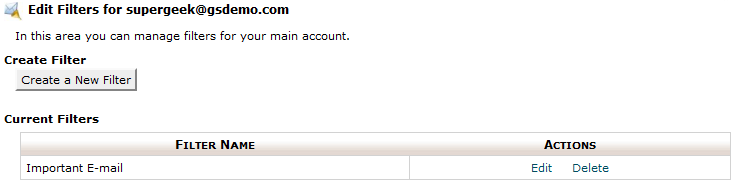
Next, select Manage Filters next to the e-mail address you would like to configure a filter on.
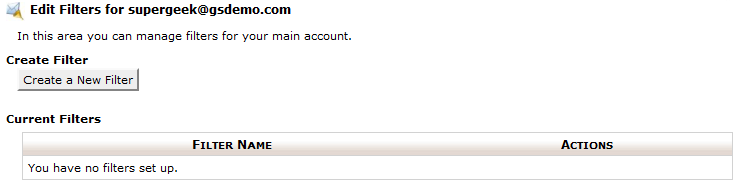
Next, select Create a New Filter.
Next, configure your filter as desired.
- Enter a name for your new filter in the Filter Name box.
- Remember to use a different name for every filter. Using the same name will cause filters to be overwritten
- Select the email characteristic that you want to use to filter mail.
- Select the criterion (or operator) you want to use to filter mail.
- In the text box, type the characters or keyword(s) you want to use to filter mail.
- Click the + button to add the rule. You can add more than one rule.
- Click the - button to delete a rule.
- Select the action you want to take with mail “caught” by the filter. If you are wanting to send filtered e-mail to a specific mail folder, you will first need to create the folder before creating the filter.
- Click the + button to add the action. You can add more than one action.
- Click the - button to delete an action.
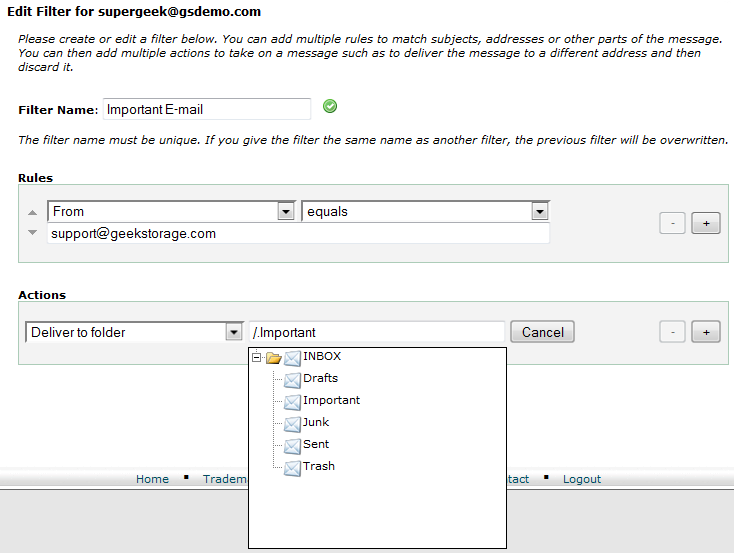
Select Activate when you are done.

You have now successfully created a user level e-mail filter.

Modify a user level e-mail filter
To modify a user level e-mail filter, you will first need to login to cPanel. Once logged in, navigate to Mail >> User Level Filtering.
Next, select Manage Filters next to the e-mail address you would like to edit the filter on.
Next, find the filter you would like to edit on the list and then select Edit.
Next, configure your filter as desired.
- Enter a new name for your filter, if desired, in the Filter Name box.
- Remember to use a different name for every filter. Using the same name will cause filters to be overwritten
- Select the email characteristic that you want to use to filter mail.
- Select the criterion (or operator) you want to use to filter mail.
- In the text box, type the characters or keyword(s) you want to use to filter mail.
- Click the + button to add the rule. You can add more than one rule.
- Click the - button to delete a rule.
- Select the action you want to take with mail “caught” by the filter. If you are wanting to send filtered e-mail to a specific mail folder, you will first need to create the folder before creating the filter.
- Click the + button to add the action. You can add more than one action.
- Click the - button to delete an action.
Once you have finished editing your filter, select Activate.
You have successfully modified a user level e-mail filter.
Delete a user level e-mail filter
To delete a user level e-mail filter, you will first need to login to cPanel. Once logged in, navigate to Mail >> User Level Filtering.
Next, select Manage Filters next to the e-mail address you would like to delete the filter on.
Next, find the filter you would like to remove on the list and then select Delete.
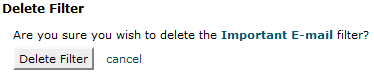
Next, confirm that you have selected the filter you intend to delete and then select Delete Filter.
You have successfully deleted a user level e-mail filter.

Have any questions?
If you have any questions or need assistance, please contact Geek Support.
Your comments can help make Geek Knowledge better for everyone. Please take a few moments to comment on this article if you found it helpful or feel it needs improvement. Registration is not necessary.
 Categories